建立私有CA服务器并实现简单https
一、openssl配置文件
[root@test_123.206.18.135 ~]#cat /etc/pki/tls/openssl.cnf
####################################################################
[ ca ]
default_ca    = CA_default        # The default ca section

####################################################################
[ CA_default ]

dir        = /etc/pki/CA        # Where everything is kept
certs        = $dir/certs        # Where the issued certs are kept
crl_dir        = $dir/crl        # Where the issued crl are kept
database    = $dir/index.txt    # database index file.
#unique_subject    = no            # Set to 'no' to allow creation of
                    # several ctificates with same subject.
new_certs_dir    = $dir/newcerts        # default place for new certs.

certificate    = $dir/cacert.pem     # The CA certificate
serial        = $dir/serial         # The current serial number
crlnumber    = $dir/crlnumber    # the current crl number
                    # must be commented out to leave a V1 CRL
crl        = $dir/crl.pem         # The current CRL
private_key    = $dir/private/cakey.pem# The private key
RANDFILE    = $dir/private/.rand    # private random number file

x509_extensions    = usr_cert        # The extentions to add to the cert

default_days    = 365            # how long to certify for
default_crl_days= 30            # how long before next CRL
二、创建私有CA
1.创建所需要的文件
[root@test_123.206.18.135 ~]#cd /etc/pki/CA/
[root@test_123.206.18.135 /etc/pki/CA]#touch index.txt
[root@test_123.206.18.135 /etc/pki/CA]#echo 01 > serial
[root@test_123.206.18.135 /etc/pki/CA]#cat serial
01
2.CA自签证书
[root@test_123.206.18.135 /etc/pki/CA]#(umask 077;openssl genrsa -out ./private/cakey.pem 2048)
Generating RSA private key, 2048 bit long modulus
...............................................................................................................+++
....................+++
e is 65537 (0x10001)
[root@test_123.206.18.135 /etc/pki/CA]#cat ./private/cakey.pem
-----BEGIN RSA PRIVATE KEY-----
MIIEowIBAAKCAQEAvj4mJ5UaPh9Zjkq+pdAsZMWTCDxeHng9NgRZiZx5od6t9zMc
BtqjeedsoJcb29tgix/07IOp6kI6qz9i99/79Os0nUbmE8dV4pDMAymiQoB0aGJp
S0ZwZGMrPo7VVLYuNZ4HopyUAqU/XIL9NXqsn2hmcmiCVjqy7prrEY/qHA6yGCeW
A50ui6GUPAf75S6Bio+KXA2HmrPnT3xbn4T/Iw0Uil7PcBtikjzKYF4QVK3SFU9Z
DWzjqmH9GwEhRScg3taJL6xHAcIMaTHUg4bHnlt5X5DO6cfUlu7F9kn7AJI/eRWI
LoG9WZjLPnGy7pEk1LrSRydM53pe2Py+Sjnh4QIDAQABAoIBAQCWY8sFv3jfYykI
s03DBq4Re56gBBjjPWomKYoenvQIYmBj6qNdR7mzxJ661LnRM7s+QCT+U5ce+Pwo
JBO4n/gtxUHykvmO6SWb1ZtxZJhAugtL+YADYcu3kC2/Zmp+bQZanHKsudrHvJo6
J9LDVBbibUWPa86dHAoXVaA+YeZQBm46wDnHfmujthKx4tq3qqQhLhC+HFuMF27H
N+FzbeFyS+sd9if1Zqdx/tbs9Qh9N9w+3vwqMef8KnCFRu3kHgqFy2dYC40ck5tR
J/Zx3ebUxsJpk6+swxyK4rX0R9/wQHwiQs7TbCXUdWQL7xYpi92NHwoiV7IJt0qY
FDo8rhGBAoGBAPraH+qwmWr1DQ2WLQWhobU0E3lVnLEZXziFVNHJy4wFnWzC6I5o
BdgNg8aosO++AofaqoeXjskfufHIyCsPr9+26+DobokesQ4JirV8+YwVWWxSzL6J
+WnklZTawVtpSgkkEZQL6UzpXnDPM2vhoNoWFxTHwibrUI6yvFGWjMi/AoGBAMIl
m5H8j3MX6m8MXsYQSrlOA6WZloCaYOIvotS6nBgJIWXLF6rqmeewVVp35Nanvpz5
C/A/uGF4EKiTQMXtTZiUHz9Eniu953KR62R4xgjYAINnGkYiNDOZ19f4mXFMzewo
vxYFhprP6mFiqDWJDfvgViU4Eqp8CcWjLJGecl1fAoGAaVM+hW7i67q6YVMF0lB8
MjYMWyysHtv1VCj/ZRpigYc2Ax2PQYPBuGZsRvQ7Xl4cd+hDI61qAV5112QjT5lF
khwezA8roh0l4Cv3dp5jtQKdylK1rucFtwWIHLkA6J27vTzMuKmLqoRt59XH1Gsm
+4q85De/eFHjQBch5OvebscCgYA5EtkzB24cRZGTZ62MyElPRFHqIsaNs9R7acmS
g/FTV4vL4vJoOmNYKwxMdiZ9u/5bIxORYwoPDT7Ib9GA3gwLqK+u57sf3MnncmIi
vSZqfyVXe73LlE6IRNehE+H33r5CiI/0J1e0tx6N1nTgmBPWUdLBSkSifahZw2hc
vpmcPQKBgFVqJvYBcpj7BFWxuVDVuY8p7NVKHw0KIb8he0Bpr1zNWjGs714urLUw
hStCI9BiDDfQuFMNkKYGz5ksaMbrWwuic9eDvDoS2vMGY3w9EkJZKUusVeMppgmh
Nlf5xbfHnfGIP1z6GaEO+xjtOosKl19ihIiEmlgMC3iyTBP5W4Xs
-----END RSA PRIVATE KEY-----
[root@test_123.206.18.135 /etc/pki/CA]#
[root@test_123.206.18.135 /etc/pki/CA]#openssl req -new -x509 -key private/cakey.pem -days 365 -out cacert.pem
You are about to be asked to enter information that will be incorporated
into your certificate request.
What you are about to enter is what is called a Distinguished Name or a DN.
There are quite a few fields but you can leave some blank
For some fields there will be a default value,
If you enter '.', the field will be left blank.
-----
Country Name (2 letter code) [XX]:CN
State or Province Name (full name) []:Beijing
Locality Name (eg, city) [Default City]:Beijing
Organization Name (eg, company) [Default Company Ltd]:isurecloud
Organizational Unit Name (eg, section) []:ops
Common Name (eg, your name or your server's hostname) []:ca.isurecloud.com
Email Address []:ca@isurecloud.com
三、节点申请证书
1.安装nginx
[root@cache ~]# yum install nginx -y
2.建立证书存放目录
[root@cache ~]# mkdir /etc/nginx/ssl
3.生成密钥对
[root@cache ssl]# (umask 077;openssl genrsa -out cache.key 2048)
4.生成证书签署请求
[root@cache ssl]# openssl req -new -key cache.key -out cache.csr
You are about to be asked to enter information that will be incorporated
into your certificate request.
What you are about to enter is what is called a Distinguished Name or a DN.
There are quite a few fields but you can leave some blank
For some fields there will be a default value,
If you enter '.', the field will be left blank.
-----
Country Name (2 letter code) [XX]:CN
State or Province Name (full name) []:Beijing
Locality Name (eg, city) [Default City]:Beijing
Organization Name (eg, company) [Default Company Ltd]:isurecloud
Organizational Unit Name (eg, section) []:ops
Common Name (eg, your name or your server's hostname) []:cache.isurecloud.com
Email Address []:cache@isurecloud.com

Please enter the following 'extra' attributes
to be sent with your certificate request
A challenge password []:
An optional company name []:
5.将签署请求文件发送给CA服务器
[root@cache ssl]# scp cache.csr root@123.206.18.135:/tmp/
The authenticity of host '123.206.18.135 (123.206.18.135)' can't be established.
ECDSA key fingerprint is b9:2f:9c:97:91:66:b4:4b:2a:89:5d:28:f3:06:06:2d.
Are you sure you want to continue connecting (yes/no)? yes
Warning: Permanently added '123.206.18.135' (ECDSA) to the list of known hosts.
root@123.206.18.135's password:
cache.csr                                         100% 1070     1.0KB/s   00:00
6.CA服务器签署证书
[root@test_123.206.18.135 ~]# openssl ca -in /tmp/cache.csr -out /etc/pki/CA/certs/cache.crt -days 365
Using configuration from /etc/pki/tls/openssl.cnf
Check that the request matches the signature
Signature ok
Certificate Details:
        Serial Number: 1 (0x1)
        Validity
            Not Before: Oct 15 11:11:59 2017 GMT
            Not After : Oct 15 11:11:59 2018 GMT
        Subject:
            countryName               = CN
            stateOrProvinceName       = Beijing
            organizationName          = isurecloud
            organizationalUnitName    = ops
            commonName                = cache.isurecloud.com
            emailAddress              = cache@isurecloud.com
        X509v3 extensions:
            X509v3 Basic Constraints:
                CA:FALSE
            Netscape Comment:
                OpenSSL Generated Certificate
            X509v3 Subject Key Identifier:
                07:04:5D:8B:00:B5:FA:2C:DE:36:5E:DC:F5:EE:8A:1D:60:06:18:FB
            X509v3 Authority Key Identifier:
                keyid:DA:36:19:12:0B:64:0C:C8:EF:BA:E5:11:FF:1E:41:55:05:BF:5B:4E

Certificate is to be certified until Oct 15 11:11:59 2018 GMT (365 days)
Sign the certificate? [y/n]:y


1 out of 1 certificate requests certified, commit? [y/n]y
Write out database with 1 new entries
Data Base Updated
7.删除csr请求文件,并将签署后的证书文件发给节点
[root@test_123.206.18.135 ~]# rm -f /tmp/cache.csr
[root@test_123.206.18.135 ~]# scp /etc/pki/CA/certs/cache.crt root@47.94.82.150:/etc/nginx/ssl/
[root@cache ssl]# rm -f cache.csr
[root@cache ssl]# ls
cache.crt  cache.key
8.节点nginx ssl 配置
    server {
        listen       443 ssl;
        server_name  _;
        root         /usr/share/nginx/html;

        ssl_certificate "/etc/nginx/ssl/cache.crt";
        ssl_certificate_key "/etc/nginx/ssl/cache.key";
四、测试https
1.curl测试访问https
[root@test_123.206.18.135 ~]# curl -I 'https://47.94.82.150'
curl: (60) Peer's Certificate issuer is not recognized.
More details here: http://curl.haxx.se/docs/sslcerts.html

curl performs SSL certificate verification by default, using a "bundle"
 of Certificate Authority (CA) public keys (CA certs). If the default
 bundle file isn't adequate, you can specify an alternate file
 using the --cacert option.
If this HTTPS server uses a certificate signed by a CA represented in
 the bundle, the certificate verification probably failed due to a
 problem with the certificate (it might be expired, or the name might
 not match the domain name in the URL).
If you'd like to turn off curl's verification of the certificate, use
 the -k (or --insecure) option.

 #私有CA签署的证书不被认可,使用curl会检查证书是否合法,如果想跳过这项检查,使用选项 -k 即可

[root@test_123.206.18.135 ~]# curl -I 'https://47.94.82.150' -k
HTTP/1.1 200 OK
Server: nginx/1.10.2
Date: Sun, 15 Oct 2017 11:42:22 GMT
Content-Type: text/html
Content-Length: 3700
Last-Modified: Mon, 18 Sep 2017 09:18:55 GMT
Connection: keep-alive
ETag: "59bf8f7f-e74"
Accept-Ranges: bytes
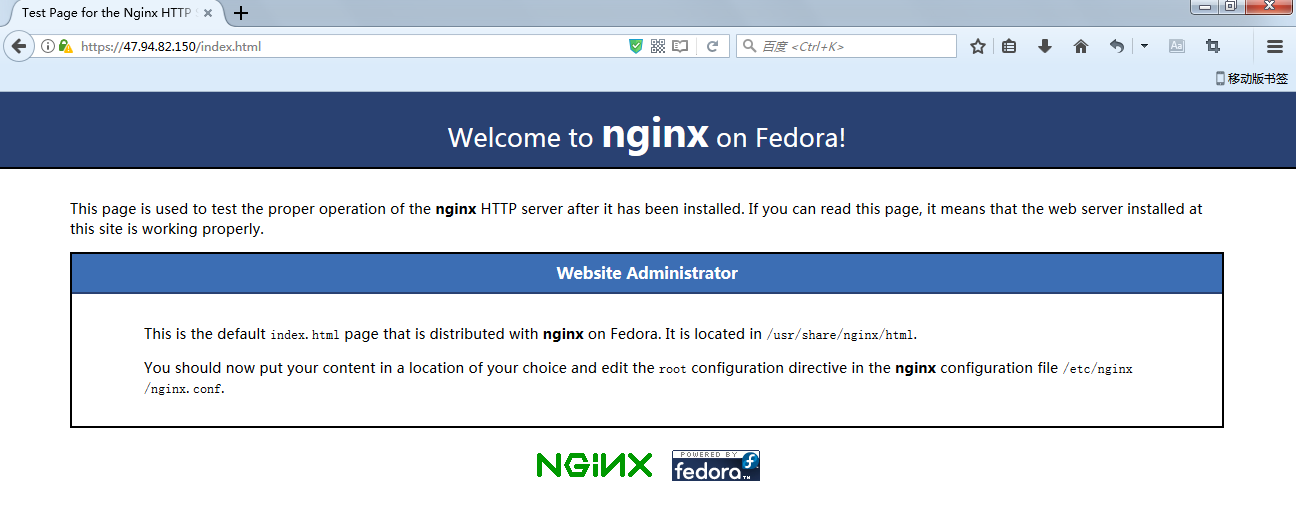
2.本地浏览器测试
相关文章
- supervisor使用教程
一、安装 1:easy_install 安装: easy_install supervisor 2:pip 安装: pip install supervisor 3:Debian / Ubuntu
- gitlab的ssh key不生效的问题
在用 gitlab 的管理代码时发现一个问题:如果用 http 协议,每次 push 的时候都需要输入用户名和密码,如果 用 ssh 协议,先要生成公钥: ssh-keygen -t rsa -C
- UOJ安装指南
这是一个UOJ的docker版本。在安装之前,请确认Docker已经安装在您的操作系统中。这个docker的映像是64位的版本,在32位的系统上安装可能会出现错误。 安装 请先下载 JDK7u76
- untu14.04下创建用户并赋予执行sudo命令的权限
untu14.04下创建用户并赋予执行sudo命令的权限 创建用户:adduser +用户名(该命令在home下生成用户目录并创建用户) 1. 切换到root用户下 2. /etc/sud
- 如何查看当前apache的工作模式prefork worker还是event模式?
查看apache工作模式 $ apachectl -V (注:apachectl可理解为apache control,其实是一段bash脚本) Server version: Apache/2.4.
随机推荐
- supervisor使用教程
一、安装 1:easy_install 安装: easy_install supervisor 2:pip 安装: pip install supervisor 3:Debian / Ubuntu
- gitlab的ssh key不生效的问题
在用 gitlab 的管理代码时发现一个问题:如果用 http 协议,每次 push 的时候都需要输入用户名和密码,如果 用 ssh 协议,先要生成公钥: ssh-keygen -t rsa -C
- UOJ安装指南
这是一个UOJ的docker版本。在安装之前,请确认Docker已经安装在您的操作系统中。这个docker的映像是64位的版本,在32位的系统上安装可能会出现错误。 安装 请先下载 JDK7u76
- untu14.04下创建用户并赋予执行sudo命令的权限
untu14.04下创建用户并赋予执行sudo命令的权限 创建用户:adduser +用户名(该命令在home下生成用户目录并创建用户) 1. 切换到root用户下 2. /etc/sud
- 如何查看当前apache的工作模式prefork worker还是event模式?
查看apache工作模式 $ apachectl -V (注:apachectl可理解为apache control,其实是一段bash脚本) Server version: Apache/2.4.